Sunday, March 29, 2015

Time To Celebrate!

Took a break from Spring/Easter projects to make a male birthday card I need for next week:


I acquired this Memory Box Happy Birthday Background die specifically for male birthday cards.  I recently learned a great trick (that many of you probably already know!) at a Stampin' Up workshop for getting die cuts out of intricate dies.  Run the die through your die cutting machine a second time after placing an unscented dryer sheet underneath it and the die cut pieces will stick to the dryer sheet eliminating the need to poke and prod them from the die!!!  So simple but a serious game changer for me:)
Other Materials Used:  Stampin' Up night of navy, crumb cake, calypso coral and bermuda bay cs and birthday bash dsp, Cricut Artiste cartridge(die cut clock), My Favorite Things banner dies, Paper Smooches sentiment, Papertrey Ink partial sentiment, pom pom, gold brad and star from stash

I'm going to pop this into the current Simon Says Stamp Anything Goes challenge.  Hope you've had some crafty time this weekend:)

Saturday, March 28, 2015

Freshly Made Sketches and SSS Anything Goes

Happy Saturday!  I'm trying to stay positive as yet again we woke to a dusting of snow on the ground and temps in the teens:(

Worked on some Easter projects this week and the first one I'm sharing is a card based on the current sketch at Freshly Made Sketches :

I used a new stamp set by Avery Elle called Easter Blessings and some new pp from Lawn Fawn called Let's Polka Mon Amie:


When I saw this Avery Elle image I immediately thought how cute it would look on an egg.  I die cut the egg image from Cricut cart Doodlecharms and the embossed image was colored with a variety of Stampin' Up markers.
Other Materials Used:  Stampin' Up baked brown sugarcs and crisp cantaloupe cs and sequins, My Favorite Things banner die, Papertrey ink white cs

I'm also popping this into the current Simon Says Stamp Anything Goes challenge.

I wanted to share the Easter shadow box insert I made at a Stampin'
Up workshop:


The finished piece was mounted on an 8 x 8" piece of Stampin' Up chocolate chip cs and put in an 8 x 8" black shadow box frame.

Hope everyone has a fab weekend!  I'm working today but hope to visit blogs tomorrow:)

Friday, March 20, 2015

2015 Bunny Chop Shop!

Happy 1st Day of Spring!  At least what the calendar says - we were greeted by more snow flurries this morning:(:(:(

I decided to play along with Simon Says Stamp Spring Pinterest Inspiration challenge :


For most holidays I love to make treat bags for my co-workers and I thought it would be fun to decorate this year's Easter bags with "chocolate" bunnies:


I die cut the bunnies from Stampin' Up cs (soft suede, smoky slate, black and pretty in pink) using an image from the Cricut cartridge Create A Critter 2.  One of the reasons I bought this particular cart is because all the critters lend themselves to "needing" googly eyes:)  The banners were cut from Stampin' Up coastal cabana cs using a WPlus 9 die and stamped with a sentiment from Papertrey Ink Hippity Hoppity set.  At a SU workshop I won the coastal cabana twine and used it to finish off the top of the bag.  I had purchased the white paper sacks years ago at Michael's and they are the perfect size to fill up with chocolate:)

I'm really glad Simon Says Stamp chose this particular theme for this week's challenge!  I didn't realize how early Easter is this year and I really need to get going on making Easter cards!!!

Hope everyone has a great weekend!!!  Thanks for all the sweet comments!

Wednesday, March 18, 2015

Happy, Happy, Happy!

I promise this is the last pillow I'll be sharing....unless, of course, I find more burlap pillow covers on clearance:)


I was inspired by a pillow I saw on Pinterest to create the poppies from felt circles and black buttons.  I simply die cut the circles using my Cuttlebug and Spellbinder Nesties (Standard Circle Large) from red felt I had picked up at JoAnn's to use on my cards.  I've found that 100% acrylic premium felt die cuts just as well as wool felt and it's really cheap - I paid less than 2 bucks (after a 25% off coupon) for 1/4 yard.  I could make a field of felt poppies with what I have leftover:)  The "stems" were stitched with green embroidery thread.  I used a  "happy" die from the WPlus 9 "Happy Trio" to cut the "happy's" from the same red felt and then adhered them to the burlap pillow cover (only $1.39 on clearance!) with fabric glue.  Finished size is 12" x 16".

We have an enclosed back porch -built when glass jalousie blinds were all the rage (must've been a man who designed them as they are a total pain to clean!) - where I loooooove to read, make cards and think nap in the summer.  Nothing fancy - just old slip covered furniture and cast-offs.  Last year I spray painted some old wooden lamp bases bright red and topped them with burlap drum shades and scattered about some bright red and yellow pillows and knick knacks.  My poppy pillow really expresses the vibe I feel when I spend time on my porch - Happy! Happy! Happy! 

Gotta share a pic of what we woke up to this morning:


Can somebody tell mother nature Spring begins in 2 days???

Monday, March 16, 2015

A Lil' Bit O' This, A Lil' Bit O' That!

Happy Monday Friends!
Thought I would do a "catch-up" post and share some of the projects I've been working on.  Now that I've started looking at my card making supplies with new eyes the sky's the limit!  First up is a home decor piece using some dies, cs, pp and ribbon:


Aren't the bunnies adorbs?!!  I used a trio of Impression Obsession dies and cut them from American Crafts burlap cardstock.  The cs, pp and ribbon are from Stampin' Up (marina mist and baked brown sugar).  It's difficult to see in the pic but the bunnies were mounted on gingham checked pp squares - I have a new camera and I'm still learning:)
Other Materials Used:  12 x 12" frame Michael's, white pom pom's from my stash

Next up is a springy pillow:


I loooooove how this turned out!  I found this cute polka dot material at JoAnn's and ironed it on a piece of Therm-o-web Heat n Bond iron-on adhesive.  I then ran it through my Cricut using a Strong Grip cutting mat and this leaping bunny image from the Kate's ABC's cartridge.  I was so happy with how well this cut -although I did have a bit of a struggle scraping the negative pieces from the mat:(  The die cut bunny was then ironed on a burlap pillow cover I got on clearance at Michael's for $1.99.  My mother-in-law had some white yarn leftover from one of her projects and I used it to make the bunny's pom pom tail.  A super inexpensive and fun project! 

My Stampin' Up demonstrator recently held a workshop using punches to create a cute St. Patty's Day insert for a shadow box.  I had a really hard time getting a pic without a reflection of my arms and kitchen cupboard but thought I'd share anyway:


The completed piece is 6 x 6" and I mounted it on a piece of 8 x 8" black cardstock so it would fit in this 8 x 8" shadowbox.  My mom was really happy to receive this and at the end of this month I'll be attending a workshop to make an Easter insert.

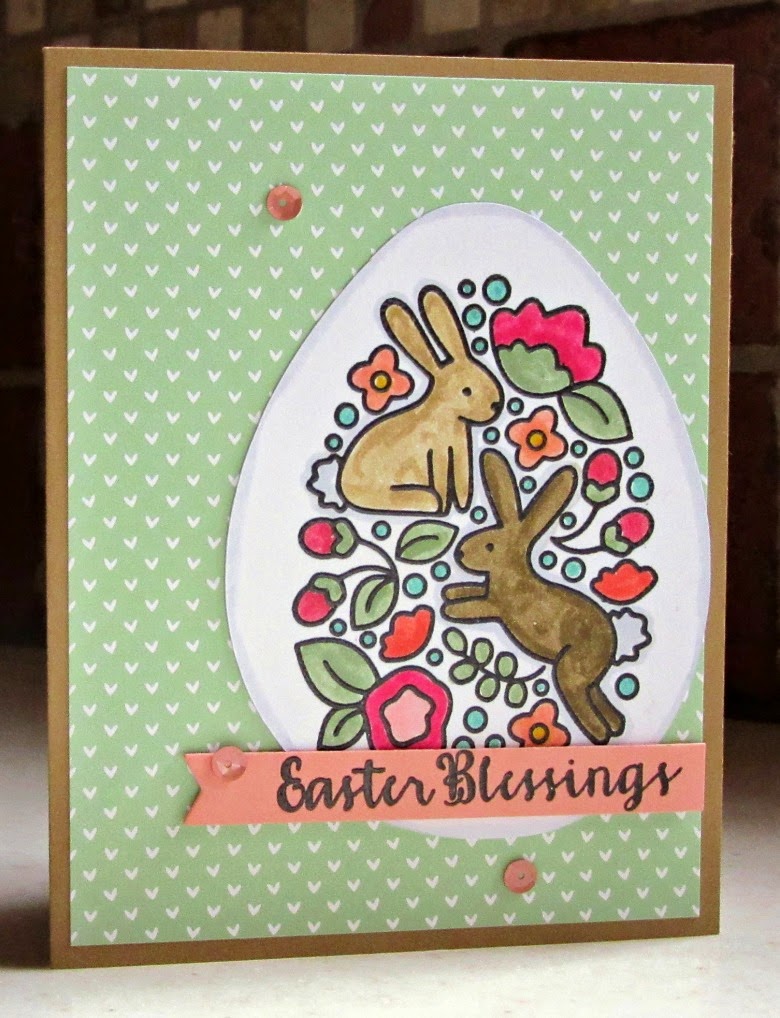
Lately I've been in the mood for "watercoloring" with my stamps:


And while I didn't use any card making supplies in my last project I just had to share how I "upcycled" a tray with some discarded corks and spray paint!  I came across this wooden tray a well-meaning relative made and gave to us many, many years ago:


After spending hours a few minutes on Pinterest I was inspired to give this tray a makeover!


I even enlisted the help of the hubster:)  After filling in the woodburned design(that was on all sides of the tray) with wood putty he sanded it down and then applied primer.  After a few coats of Krylon chalky finish misty gray spray paint it was ready to embellish with some corks - 115 to be exact!

A long post - just like the looooong winter we've had here in the Northeast.  I think this cheeky sign we saw this past weekend outside an area cafe sums it up perfectly:


I look forward to perusing your blogs for inspiration!  Have a wonderful week and thanks for taking the time to leave a comment!